Setting the Projects Location Folder
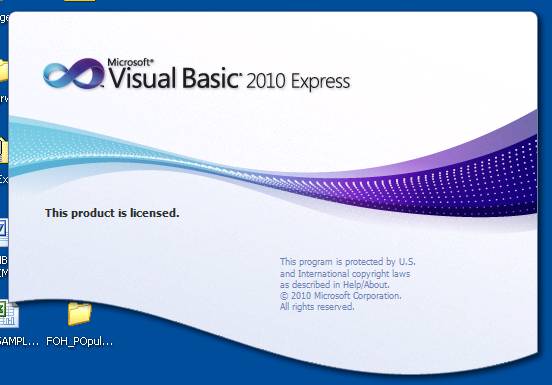
Assuming you have downloaded and installed VB 2010 Express from the appropriate Microsoft website, you will see the following splash screen once you launch VB 2010 Express:
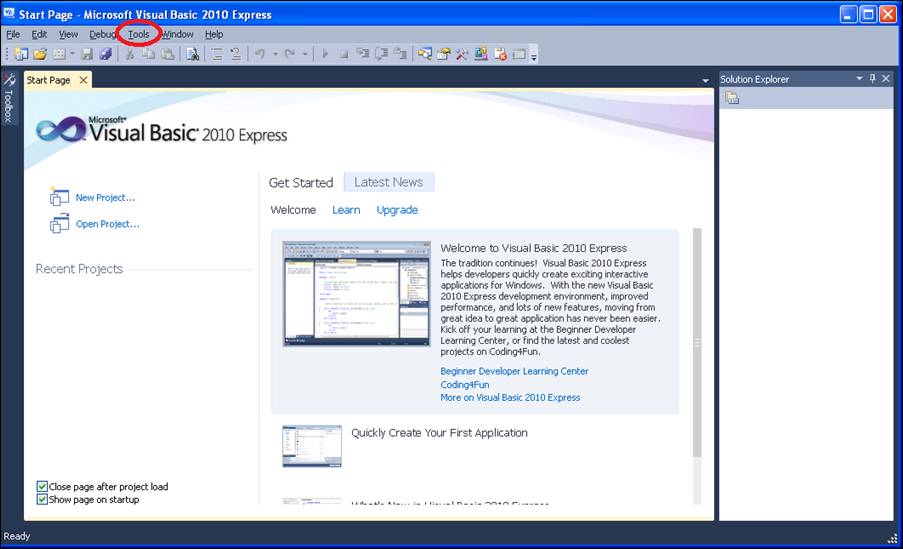
You will then see the VB 2010 Express Start Page, shown below. Before we dive in to explore the IDE and create a sample “Hello World” project, let’s take a moment to create our Projects folder, where the projects presented here will be saved.
To set the Projects folder, first locate the Tools menu, shown circled below:
Open the Tools menu and click Options:

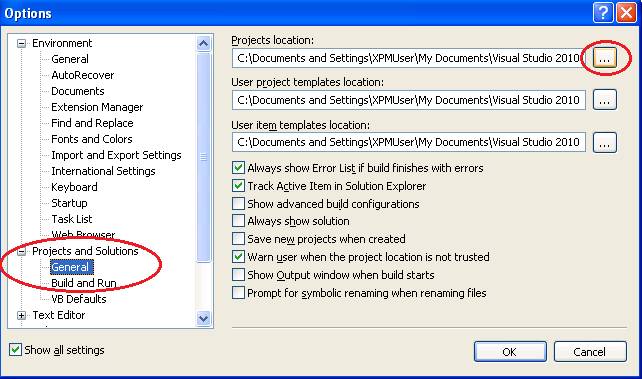
The Options dialog screen then appears. On it, you can make a number of customizations pertaining to the overall programming environment, text editor, form designer, and so forth. However, we will leave most everything to their default values, and just set the Projects directory for now. On the left-hand side of the screen, navigate to Projects and Solutions, then click General (shown circled below). Then on the right-hand side of the screen, click the “…” button to the right of the “Projects location” entry:
|
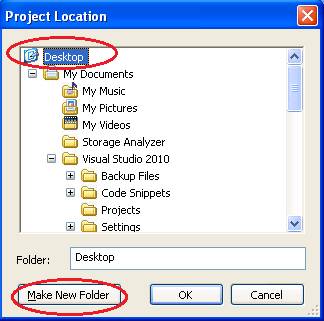
The Projects Location dialog then appears. Here, you can navigate to the desired folder where you want to save your projects (you can also create a new directory in the desired location). The projects created here will be saved in a folder called “VB2010 Projects” on the Desktop. To specify this, first navigate to the Desktop folder, then click the Make New Folder button: |
|
|
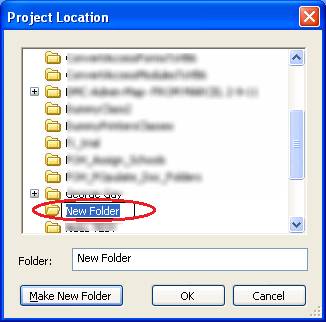
Once you click the “Make New Folder” button, a new folder (with the default name “New Folder”) will be created, and the new folder will be shown with its name highlighted and ready to be renamed:
|
|
|
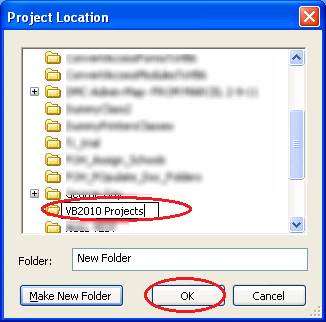
Rename the folder VB2010 Projects and click OK.
|
|
|
The newly created folder will now be shown in the Projects location area of the Options screen:
|
|
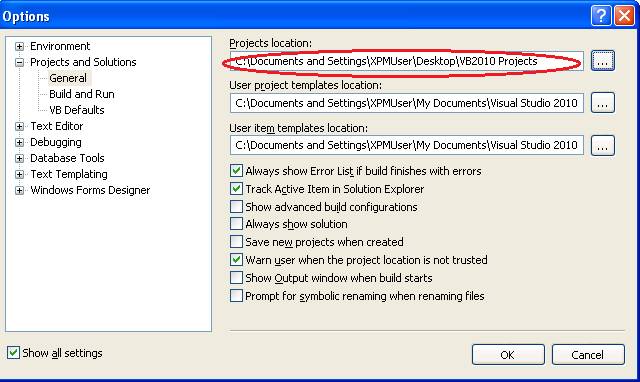
Click OK to close the Options screen. (The VB 2010 Express Start Page will still be up.)
|
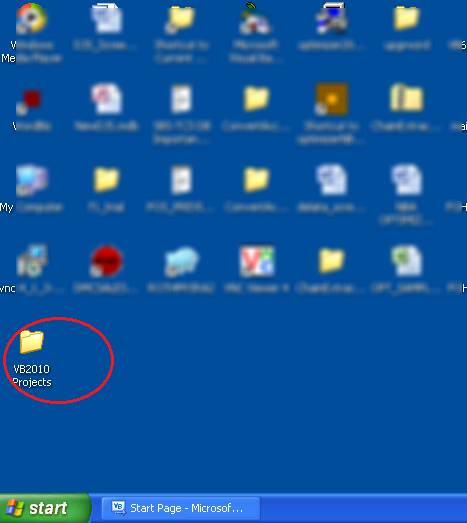
You should be able to see the folder you created on the Desktop (you may need to minimize the VB 2010 Express screen first).
|
|