Toolbar
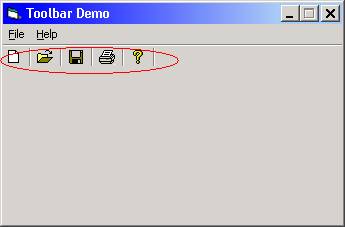
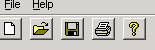
The Toolbar provides the user quick access to the most commonly used functions of a program. A toolbar can be used stand-alone or as a complement to the program's menu structure. In this tutorial, we will create a toolbar that complements the menu built in Exercise 1 of the previous topic. When the sample program runs, it will look like this (the toolbar is circled):
To build the Toolbar Demo sample project, perform the following steps:
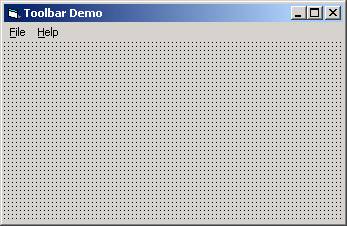
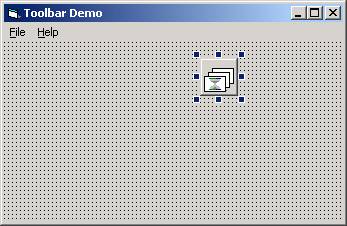
1. Copy your project files from Exercise 1 of the previous topic (Menu Demo) into a new folder, open the project, and change the form's caption to "Toolbar Demo". Your form should look like this:
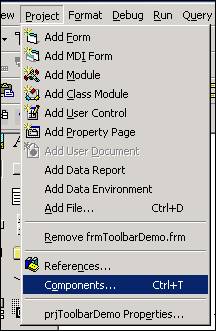
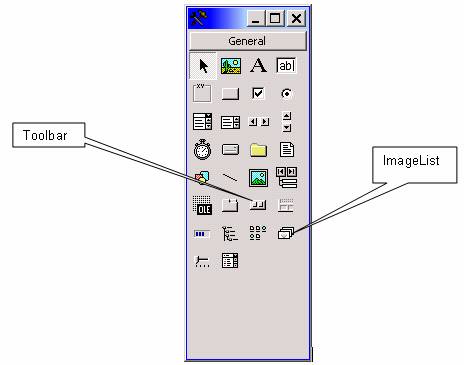
2. Creating a toolbar in VB requires the use of two controls. The first is the ImageList control, which contains the images that will be used for the toolbar buttons. The second control is the Toolbar itself. These controls are two of nine controls that are part of Microsoft Windows Common Controls. To make these controls accessible to your VB project, go to the Project menu in the VB IDE and select Components:
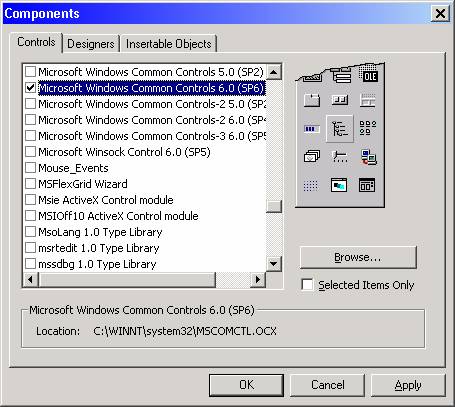
This brings up the Components dialog box, where you must check Microsoft Windows Common Controls 6.0 (SP6), as shown below.
Click OK. The ImageList and Toolbar, along with the TreeView, ListView, Slider, StatusBar, ProgressBar, TabStrip, and ImageCombo will appear in your toolbox as shown below. (These other controls will be covered in separate topics; for now we will focus just on the ImageList and Toolbar.)
Toolbox with the Windows Common Controls added:
3. Double-click on the ImageList control to bring it onto the form:
The ImageList control is not directly accessible by the user and is not visible at run-time. The purpose of the ImageList control is to provide a repository for images that are used by several other controls. The ImageList must be used to supply images to the Toolbar, as well as to other controls such as the TreeView and ListView. You add images to the ImageList control through the design environment (you can also do it in code), then reference the index or key of the image to use it in another control.
With the ImageList selected, click F4 to bring up the property list and name the ImageList imlToolbarIcons.
4. With the ImageList control selected on the form, right-click it and select Properties from the context menu. This causes the property page for the ImageList to be displayed:
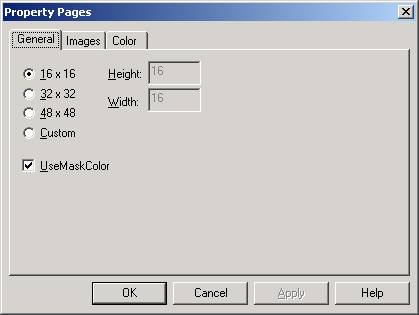
On the General tab, select 16 x 16.
5. Click the Images tab. The Property Pages dialog looks like the screen-shot below:
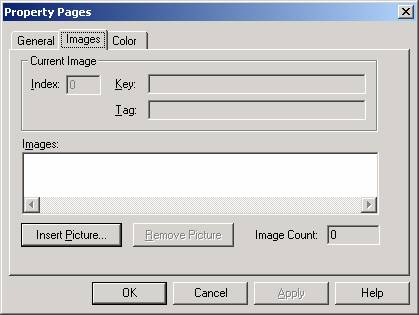
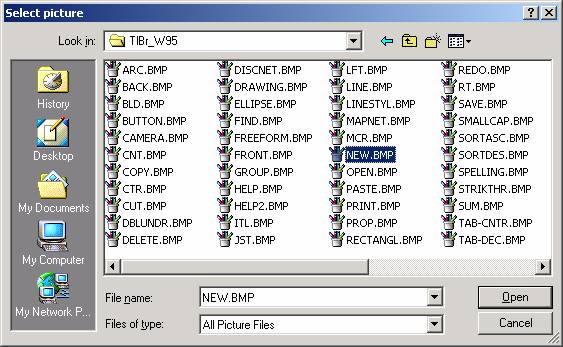
The task at hand now is to repeatedly click the Insert Picture button, select an image, and set the Key property until you have loaded all of the desired images. Upon clicking Insert Picture for the first time, the Select picture dialog box comes up. Navigate to the following folder: \Program Files\Microsoft Visual Studio\Common\Graphics\Bitmaps\TlBr_W95. This folder contains several standard toolbar images. For the first image, click New.bmp, as shown in the screen-shot below:
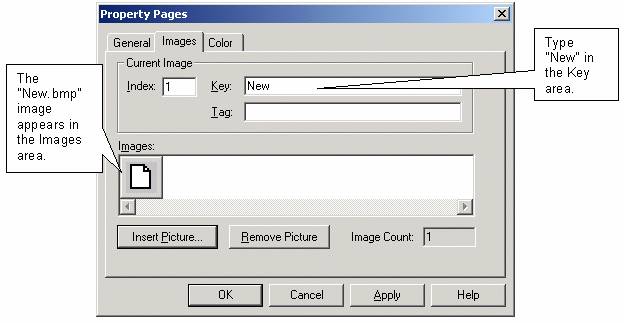
Click the Open button to select the image and dismiss the "Select picture" dialog box (if you double-clicked the "New.bmp" file, that would have the same effect). At this point, the image appears in the Images area of the Images tab of the Property pages, as shown in the screen shot on the following page. In the Key area, type New.
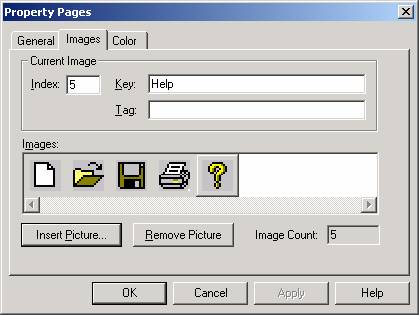
Repeat the above process as you add the following images (type "Open", "Save", "Print", and "Help", respectively, for Key):
Open.bmp
Save.bmp
Print.bmp
Help.bmp
The Property Pages dialog should then look like this:
At this point, click OK to dismiss the Property Pages dialog.
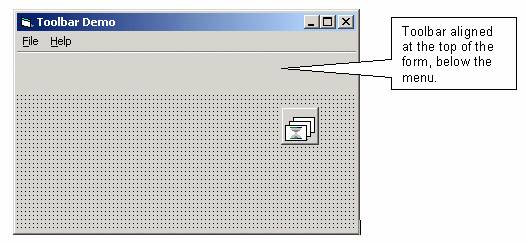
6. The next order of business is to bring the toolbar control onto the form. Do so by double-clicking the Toolbar control on the toolbox. By default, the toolbar will be aligned with the top of the form, below the menu, if you have one.
7. With the toolbar selected, press F4 to bring up the regular properties window, and set the (Name) property to tbrMenuOpts. Then, right-click the toolbar and select Properties to bring up the Property Pages dialog, as shown below. On the General tab, set ImageList to "imlToolbarIcons" (the ImageList that was added to this form) – remember, the toolbar must get its images from the images stored in an ImageList control. Also, set the Style property to "1 – tbrFlat" (the default is "0 – tbrStandard").
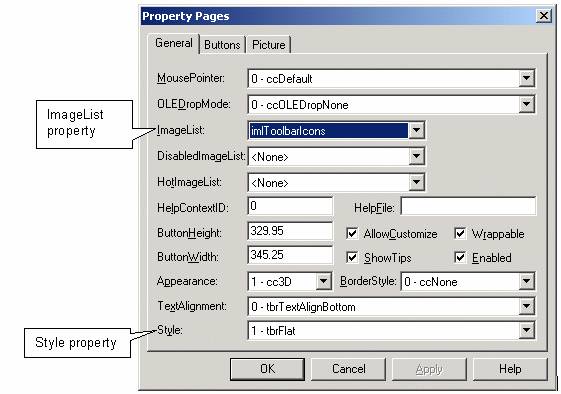
FYI: The difference between the Standard and Flat Toolbar Style is explained below:
Standard vs. Flat Toolbar Styles:
|
Standard |
Flat |
|
|
|
|
With the Standard style, the buttons of the toolbar appear raised at all times. This is the older, classic style. This was the only style available up through VB 5. |
With the Flat style, the toolbar buttons remain flat. When you pass over one of the buttons with the mouse, that button will appear raised. This style was prevalent in Microsoft products in the late 1990's. |
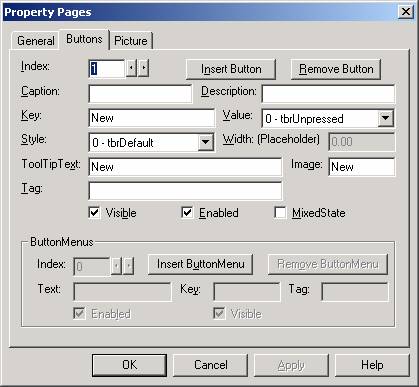
8. On the Buttons tab of the Property Pages dialog, click the Insert Button command button, and set the following properties:
o Set the Key property to "New". The Key property of a toolbar button is a string that uniquely identifies that button in the collection of buttons of a given toolbar. In this version of the sample program, the Key property is used to identify which button the user pressed (the button can also be identified by the Index property, but it is easier to use the Key property).
o Set the ToolTipText property to "New". This is text that will pop up in a little yellow label when the user moves the mouse over the button.
o Set the Image property to "1" or "New". This is how you tie an image in the ImageList control to a button on the toolbar. The value you type for the Image property here refers to either the Index or the Key property of the desired image in the ImageList control.
The Property Pages dialog box should look like this:
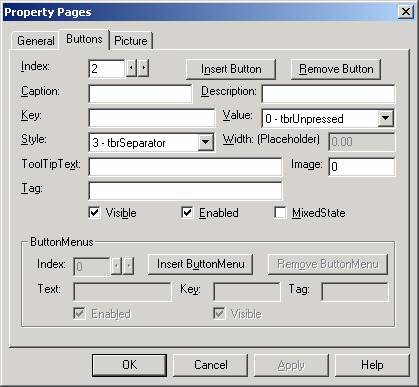
Click the "Insert Button" button again. Leave the Key, ToolTipText, and Image properties alone, but set the Style property to "3 – tbrSeparator". If you look back at the screen-shot showing the Flat toolbar Style, you'll see that a vertical line separates each button in the toolbar. This is actually done by setting the Style property of every other button to "3 – tbrSeparator". The Property Pages dialog box should look like this:
To finish setting up the toolbar, upon each click of "Insert Button", set the properties as follows:
|
Index (don't type in – VB will supply automatically) |
Key |
Style |
ToolTipText |
Image |
|
3 |
Open |
0 – tbrDefault |
Open |
2 (or "Open") |
|
4 |
|
3 - tbrSeparator |
|
|
|
5 |
Save |
0 – tbrDefault |
Save |
3 (or "Save") |
|
6 |
|
3 - tbrSeparator |
|
|
|
7 |
|
0 – tbrDefault |
|
4 (or "Print") |
|
8 |
|
3 - tbrSeparator |
|
|
|
9 |
Help |
0 – tbrDefault |
Help |
5 (or "Help") |
|
10 |
|
3 - tbrSeparator |
|
|
When you are done setting up the Buttons, click OK to dismiss the Property Pages dialog box.
9. At this point, the all of the hard work is done. All that remains is to code the Click event for the toolbar, which will test which button the user pressed, then call the corresponding menu click event procedure (and the menu events have already been coded). For example, if the user clicks the Open button on the toolbar, we simply want to call the mnuFileOpen_Click event procedure.
Double-click the toolbar, which will cause the code window to open with the ButtonClick event for the toolbar, which is the event we want to code for. The Sub procedure header looks like this:
Private Sub tbrMenuOpts_ButtonClick(ByVal Button As MSComctlLib.Button)
VB passes a Button object to the event procedure; this button object represents the toolbar button that the user clicked. To see what button the user clicked, test the Index or Key property of the Button object (using standard object.property syntax, like "Button.Index" or "Button.Key"). In the sample program, "Button.Key" is used. The coding is as follows:
Private Sub tbrMenuOpts_ButtonClick(ByVal Button As MSComCtlLib.Button)
Select Case Button.Key
Case "New"
mnuFileNew_Click
Case "Open"
mnuFileOpen_Click
Case "Save"
mnuFileSave_Click
Case "Print"
mnuFilePrint_Click
Case "Help"
mnuHelpAbout_Click
End Select
End Sub
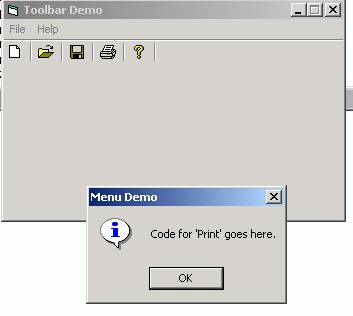
10. Run the program. When you click on a toolbar button ("Print" for example), the corresponding menu procedure code should execute:
11. When you are done testing, save the program and exit VB.
Download the project files for this example here.