More on IMAGES
The Image Control
You've already seen in the previous topic that with an Image control, you can set it's Picture property at design time by going to Picture property, clicking the ellipsis (…), and selecting a file from the Load Picture dialog box. Recall that the main types of files that can be assigned to an Image control are .bmp, .jpg, .ico, and .wmf.
The Image control has a Stretch property, which is set to False by default. When the Stretch property is False, the Image control will automatically resize itself to expand or contract to the size of the picture that is assigned to it. If instead you want the image to fill the specific size that you make the Image control, set the the Stretch property to True, which will cause the picture you assign to the Image control to automatically expand or contract to conform to the size of the control. Depending on the type of image, the image may or may not appear distorted when stretched – this is something you need to experiment with.
You can also set the Picture property of an image control in code by using the LoadPicture function, which loads a picture from a file into the control at run-time. The LoadPicture function takes a file name as an argument. Sample syntax is:
imgMyPic.Picture = LoadPicture("C:\SomeDirectory\SomeSubDir\MyPic.bmp")
"Picture" is the default property of the image control, so the above statement could have been written as:
imgMyPic = LoadPicture("C:\SomeDirectory\SomeSubDir\MyPic.bmp")
(Note: In my earlier VB programming, I would typically omit the default property of controls; however, I now advocate explicitly coding all properties – so I recommend keeping the ".Picture" on there.)
Keep in mind the following general points about setting the Picture property of a control using LoadPicture at run-time compared to selecting a file for the control's Picture property at design-time:
- When you set the picture at design-time, that picture becomes embedded in your application (it is stored in the .frx file of the form that is using it). Therefore, your program is bigger, but runs faster because the picture is in memory when your program loads.
- When you use LoadPicture, the program is smaller because the image is not embedded in the application, but resides in a separate file. However, the image processing is slower because the program must access it from disk.
To clear the picture from an image control, use the LoadPicture function with an empty set of parentheses:
imgMyPic.Picture = LoadPicture()
If you have more than one image control on a form, you can copy a picture from one image to another via an assignment statement like this:
imgPic1.Picture = imgPic2.Picture
- or -
imgPic1 = imgPic2
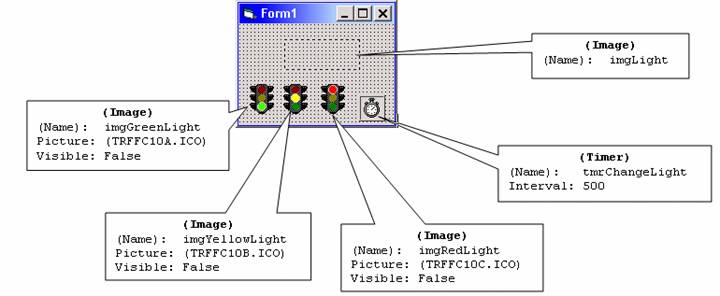
A common technique to change an image on a form at various points in the program is to use a number of image controls as a "repository". The images in the "repository" will all have their Visible property set to False. At the desired time, the program will assign one of the images from the "repository" to the image to be displayed. The following sample program demonstrates this technique.
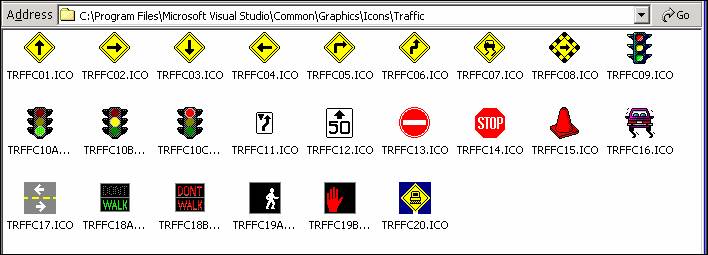
The sample program displays a traffic light that alternates color from green to yellow to red every half of a second. All images used are icons from the folder:
Program Files\Microsoft Visual Studio\Common\Graphics\Icons\Traffic.
To build the sample program, use the figure below as a guide to place the indicated controls on the default form and set the properties of the controls to the values indicated in the callouts.
The code for the program is as follows:
Option Explicit
Private mstrCurrColor As String
Private Sub Form_Load()
mstrCurrColor = "G"
imgLight.Picture = imgGreenLight.Picture
End Sub
Private Sub tmrChangeLight_Timer()
If mstrCurrColor = "G" Then
imgLight.Picture = imgYellowLight.Picture
mstrCurrColor = "Y"
ElseIf mstrCurrColor = "Y" Then
imgLight.Picture = imgRedLight.Picture
mstrCurrColor = "R"
Else
imgLight.Picture = imgGreenLight.Picture
mstrCurrColor = "G"
End If
End Sub
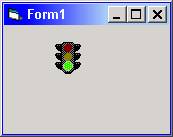
When the program runs, the traffic light will alternate in color between green, yellow, and red at intervals of one half of a second:
Download the VB project code for the example above here.
The PictureBox Control
Like the Image control, the PictureBox control can be used to display images. However, the PictureBox can do much more. Like the Frame control, the PictureBox is a "container" control, meaning that other controls can be placed inside it. In addition, the PictureBox can be used to generate run-time graphics and to display text. As a general rule of thumb, if your application requires the special capabilities of the "heavyweight" PictureBox, then use it; but if all you want to do is display an image, then use the "lightweight" Image control.
Using Images with the Form
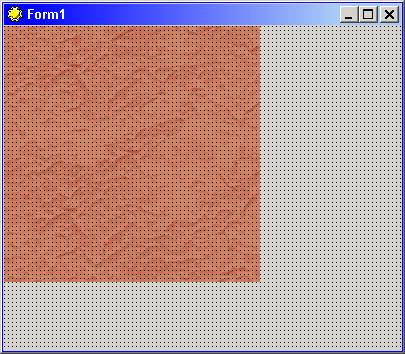
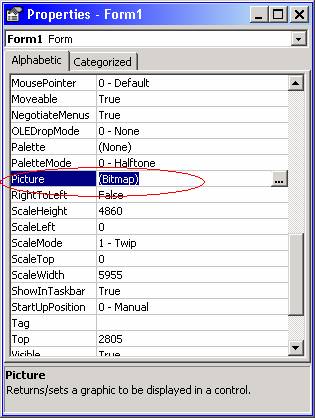
The Form has both a Picture property and an Icon property. The Form's Picture property is used to display an image directly on the form; this can be suitable for displaying a background image. In the screen shot below, the Form's Picture property was set to a file called "Santa Fe Stucco.bmp". The image is displayed starting in the upper left-hand corner of the form and cannot be moved or resized. If you want to display an image directly on the form like this, and you want the image to fill the entire background of the form, you must make sure the image to be used is the same size or larger than the size you want to make the form. (If the image you want for the background of the form is too small, use an Image control that you set to be the same size as the form with its Stretch property set to True, as was done in the previous topic's sample program with the "clouds.bmp" image.)
Note: To clear the Picture property at design-time, highlight the entry for the Picture property ("(Bitmap)" in this case), and press the Delete key.
The Form's Icon property is used to set the icon that is displayed in the left-hand corner of the Form's title bar. In the screen shot below, the Form's Icon property was set to the SUN.ICO icon from the Program Files\Microsoft Visual Studio\Common\Graphics\Icons\Elements folder.

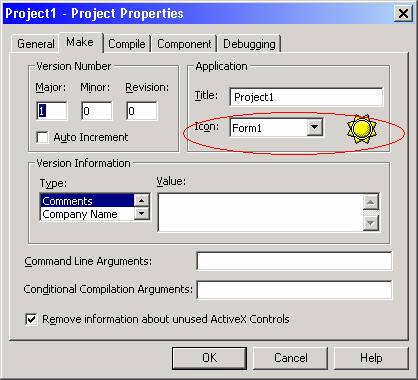
When you compile a VB program, the icon used for the resulting EXE is determined by the setting of the Icon property of the Form you specify on the "Make" tab of the project's properties sheet (accessed from the IDE's Project menu item). As shown below, the icon that will be used for this application's EXE will be the "sun" icon from "Form1". If the project had more than one form, then you could choose which form's icon would be used for the EXE by selecting the appropriate form name from the "Icon:" drop-down box:
The Picture Property of the Command Button
The Command Button control has a Style property, which, when set to 1–Graphical, enables you to display a picture on the button via the command button's Picture property. (Also – when the Style is set to 1-Graphical, you can change the BackColor of the button, which you cannot do when the Style is set to 0-Standard.)
If the command button also has a non-blank value for its Caption property, the text of the caption will appear below the picture. (Note: In VB6, you cannot specify the position (left, right, below) of the picture relative to the caption on the command button: the picture will always appear above the caption. A custom button control would be needed to display the picture to the left or right of the caption on the button.)
The screen shot below shows two command buttons with images (the images shown are from a custom icon set):
The command button also has a DisabledPicture property, which allows you to specify an alternative image to be displayed on the button when the Enabled property is set to False:

If you don't use the DisabledPicture property, the system will "do its best" to render a disabled image based on the original – what it comes up with may or may not be acceptable to you:
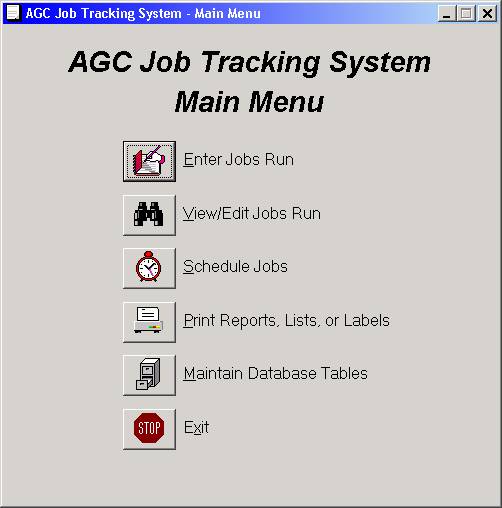
Another technique used with "picture buttons" is to place only a picture on the button and leave the Caption blank – then use an adjacent Label control to describe the function of the button, as shown in the "switchboard" type screen below:
Using Images with Other Controls
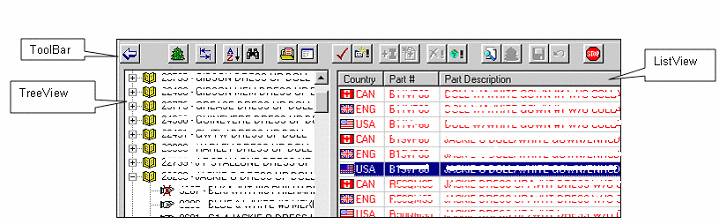
Images can be used with many with other controls. In later topics, a set of controls called the Windows Common Controls will be explored. This set of controls comprises the ToolBar, TreeView, ListView, TabStrip, StatusBar, and several others. These controls are used in conjunction with an ImageList control, which serves as a repository for images to be used for items within the controls (i.e. icons for the Toolbar buttons, TreeView nodes, ListView list items, etc.) The screen shot below shows a portion of a screen used by an application that uses a ToolBar, TreeView, and ListView.
Finding Images to Use with Your Applications
Probably the most challenging aspect of incorporating images (particularly icons) into your application is not the actual programming, but simply the search for the "right" icon or image to represent the function or concept to be worked with in your application's user interface.
As mentioned previously, Visual Studio 6/Visual Basic 6 comes with a set of over 900 graphic files (over 500 of which are icons). When Visual Studio 6 or VB 6 is installed, the Graphics folder is NOT installed by default (whoever is installing it must explicitly check the "Graphics" option during the appropriate step of the installation). Assuming that the Graphics are installed, by default they will be placed in the directory structure shown below:

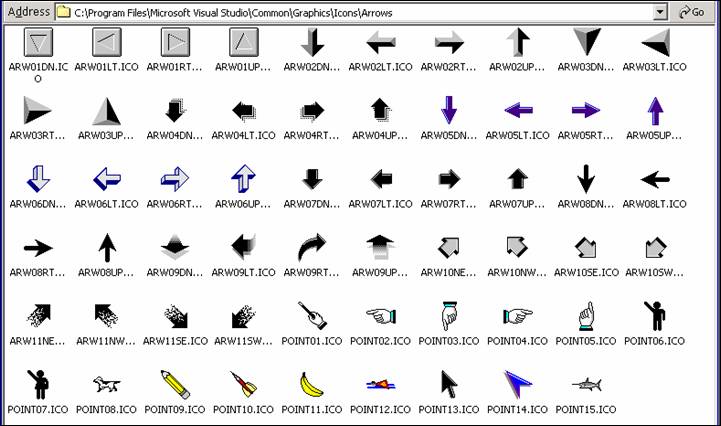
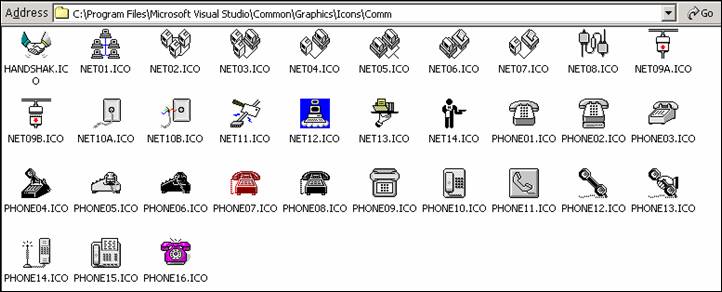
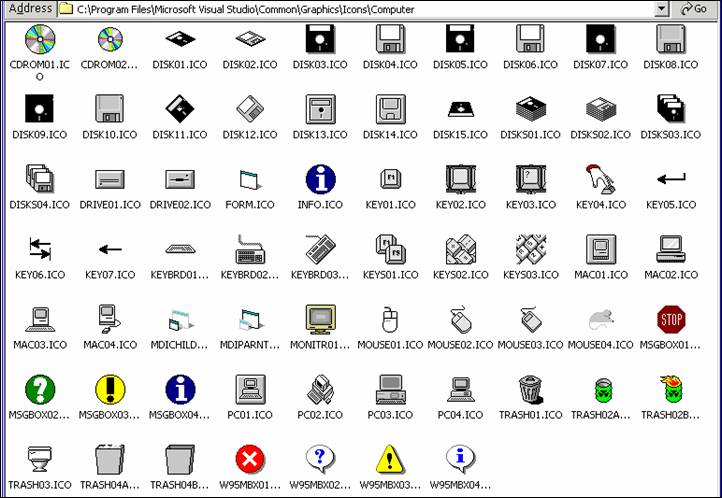
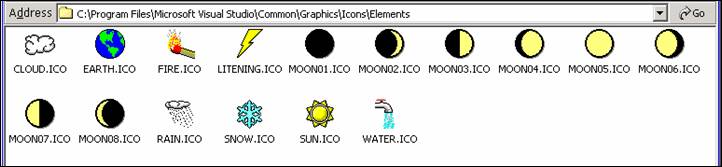
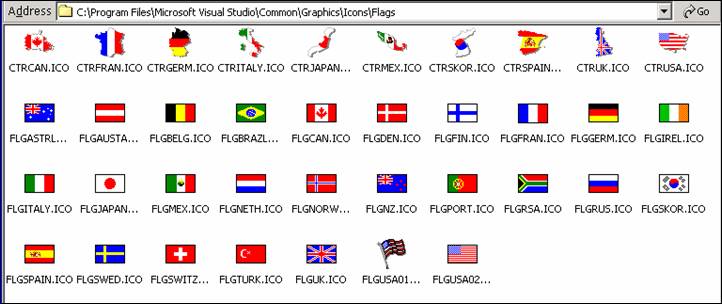
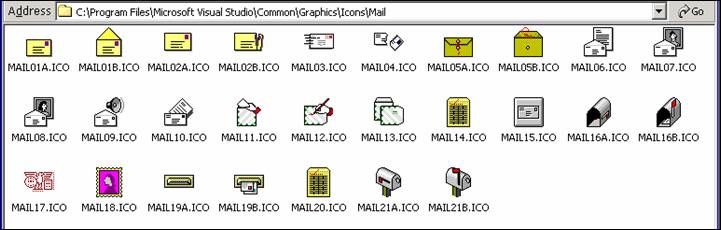
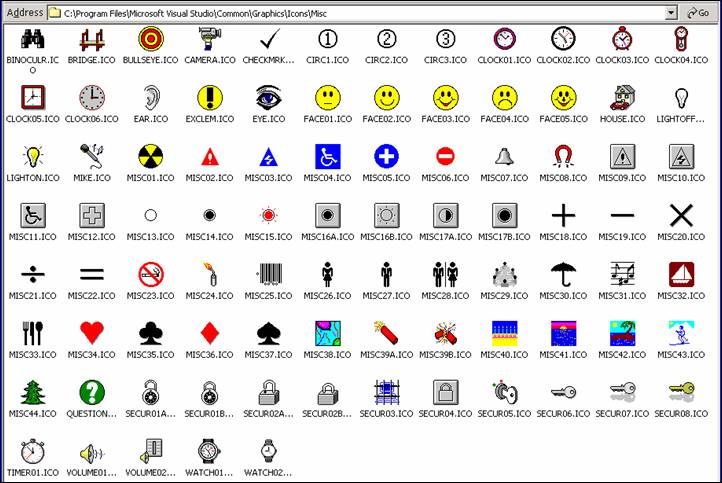
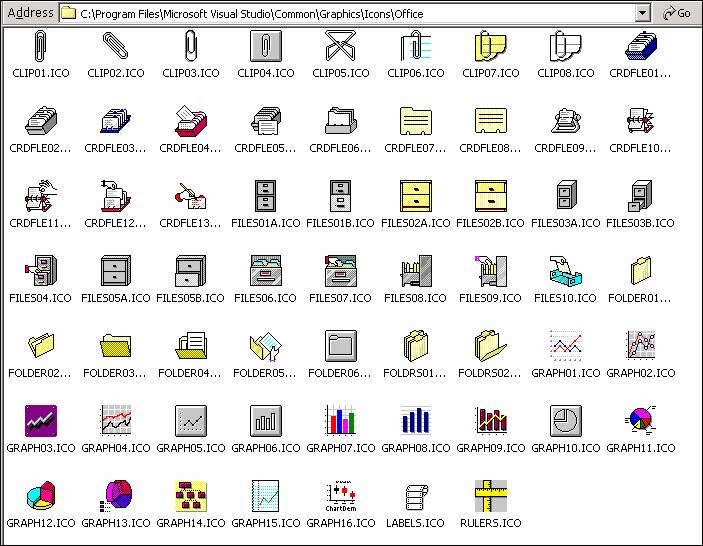
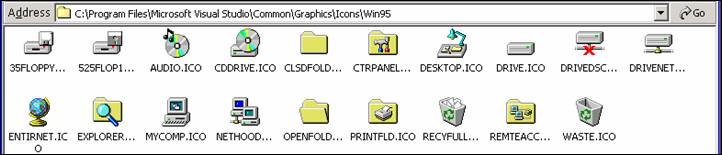
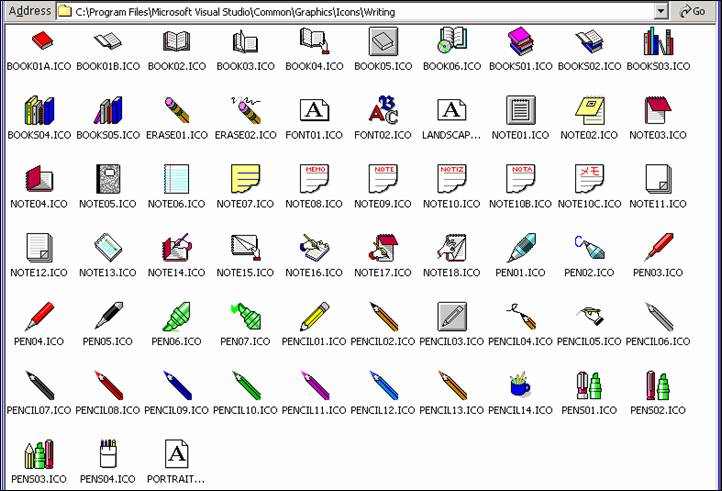
The Icons folder contains 13 subfolders. As a reference, and for convenience, screen shots of the contents of the icon folders are shown below:


Even with all of the icons and other graphic files included with VB, you may not find images that you deem suitable for your application. Not all "categories" of icons that you might expect are present in the included collections, and those that are included would be regarded by some as "dated" (the offering of included icons has not changed since VB 3.0 back in 1995). Fortunately, there are numerous resources on the Internet for icon collections (ranging in price from free to several hundred dollars) as well as resources for working with icons (creating your own and/or modifying existing icons). The Links page of this website lists several such resources. Over the past year, I have been using the icon sets from The Icon Experience and I have been quite pleased with them.